

Easy DIY Vegan Soap
- December 17, 2025
- 0 Comments
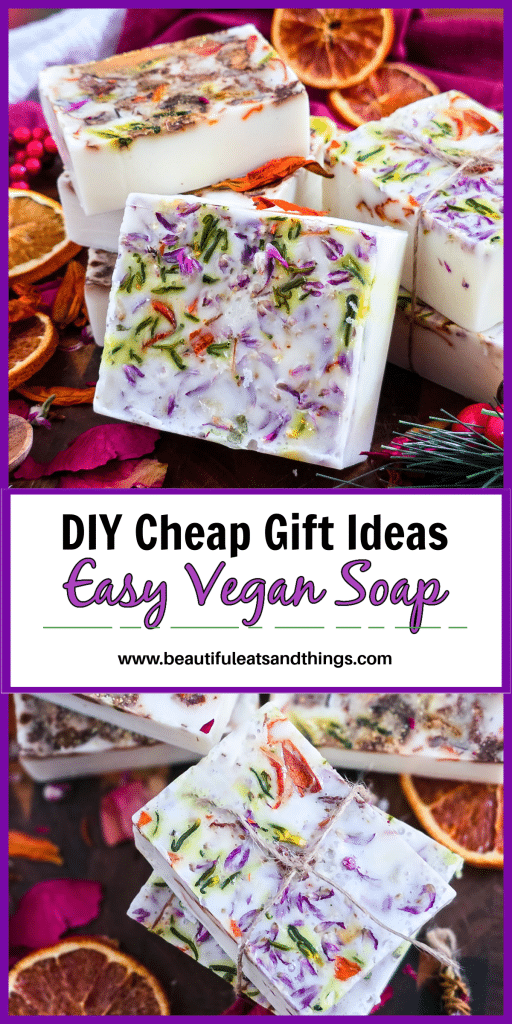
These DIY vegan soaps are proof that meaningful gifts don’t have to be complicated or expensive. They’re simple, customizable, and made with care, and that’s what makes them so special!
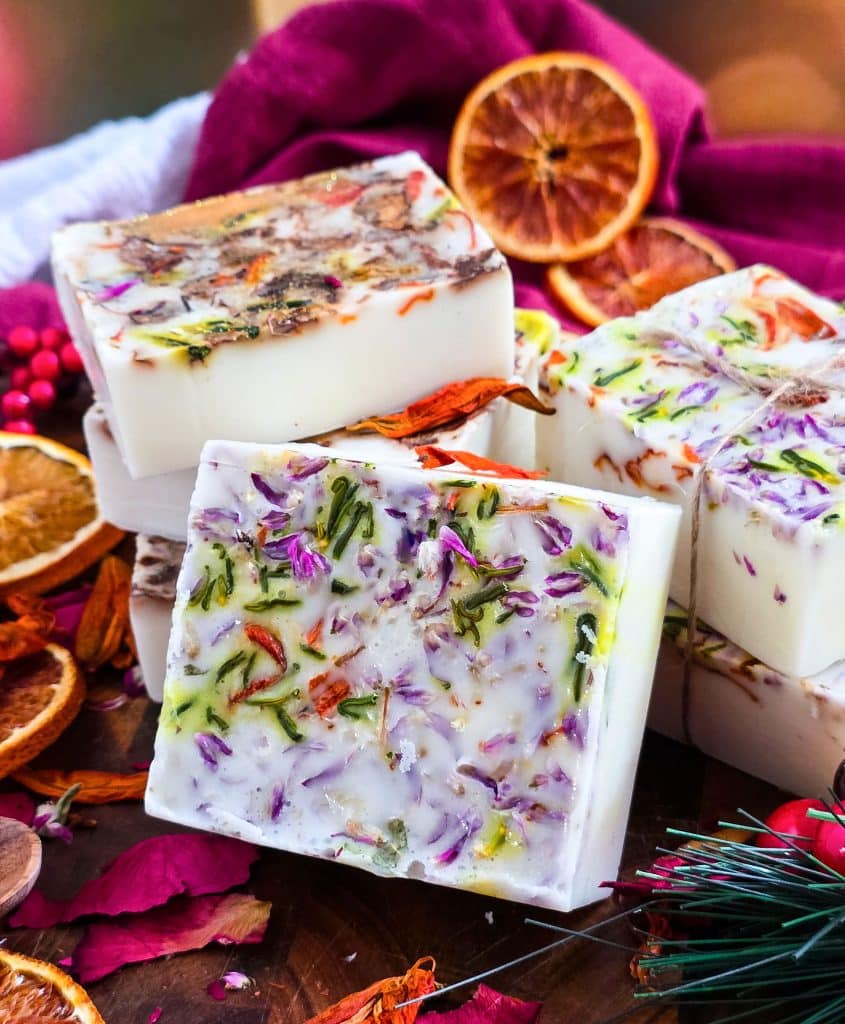
One of my biggest goals this holiday season was to create gifts that feel thoughtful, useful, and genuinely special, without adding more stress or overspending. Every year I say I want to slow down, be more intentional, and focus on meaningful moments… and this year, I finally did it.
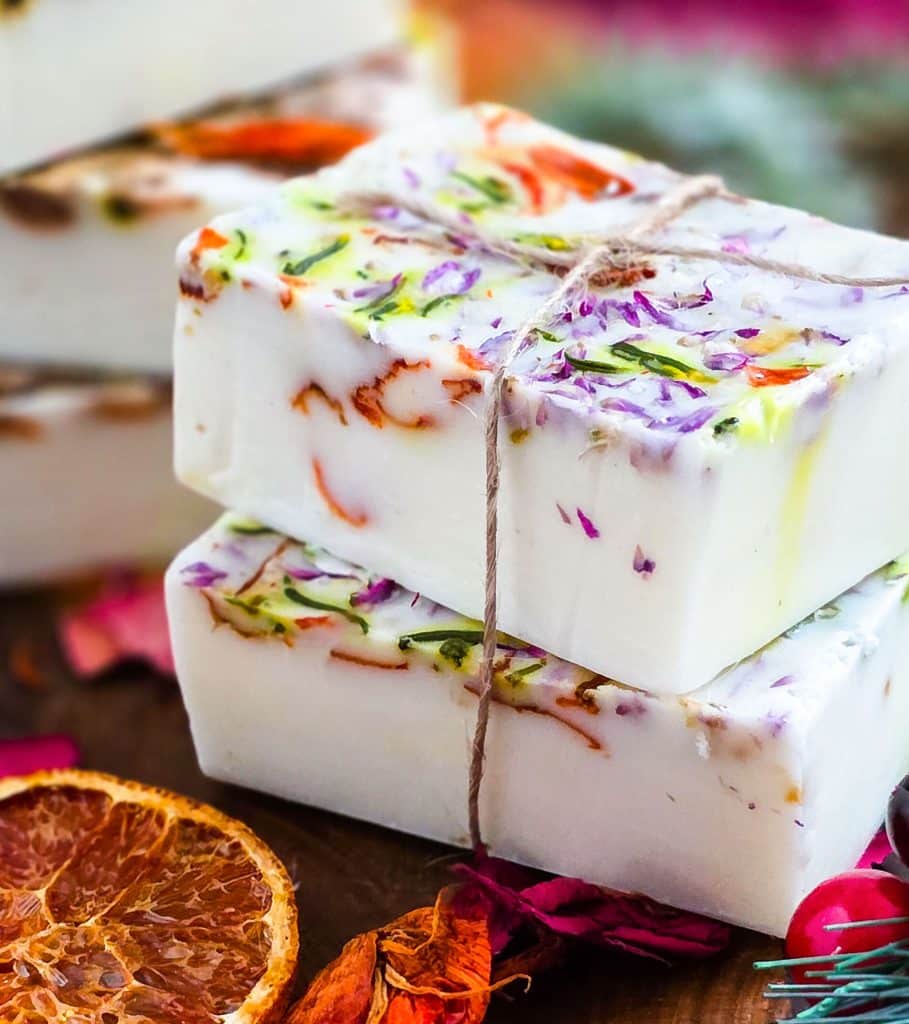
That intention is exactly why I created my 5 Days of Christmas DIY Gifts Series, a collection of easy, budget-friendly DIY Christmas gift ideas that are made with love and designed to make the holidays feel a little calmer. For Day 4, we’re making one of my favorite handmade gifts ever: Easy DIY Vegan Soap!
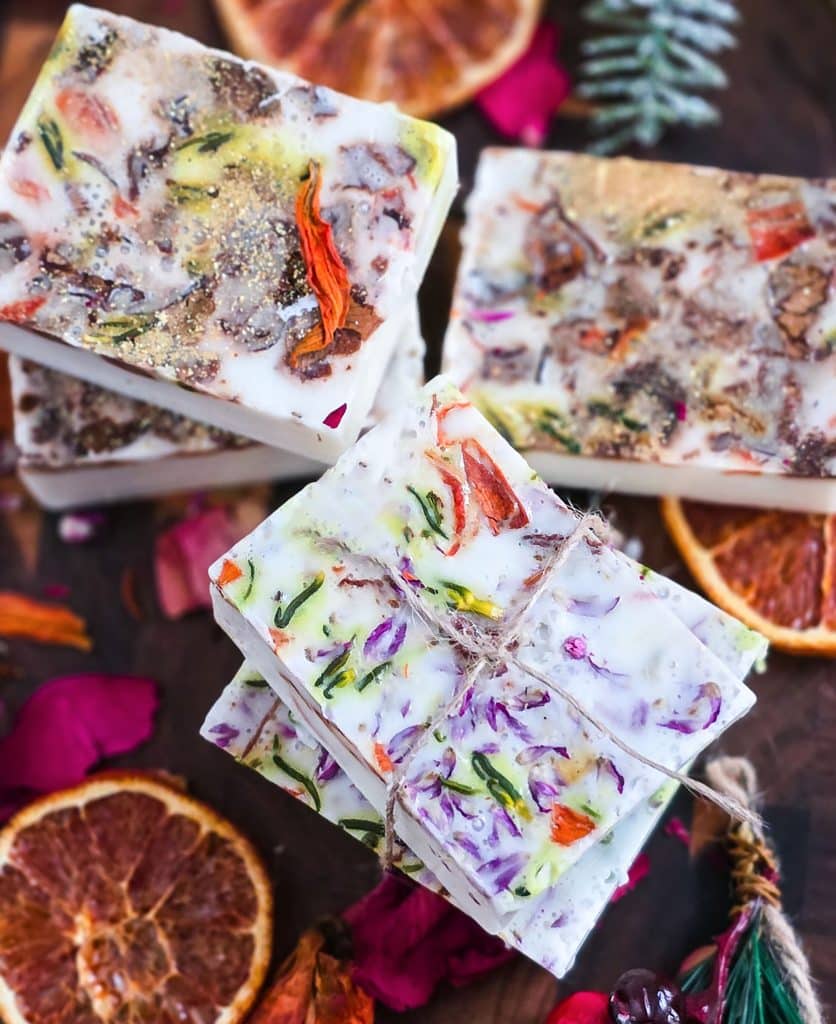
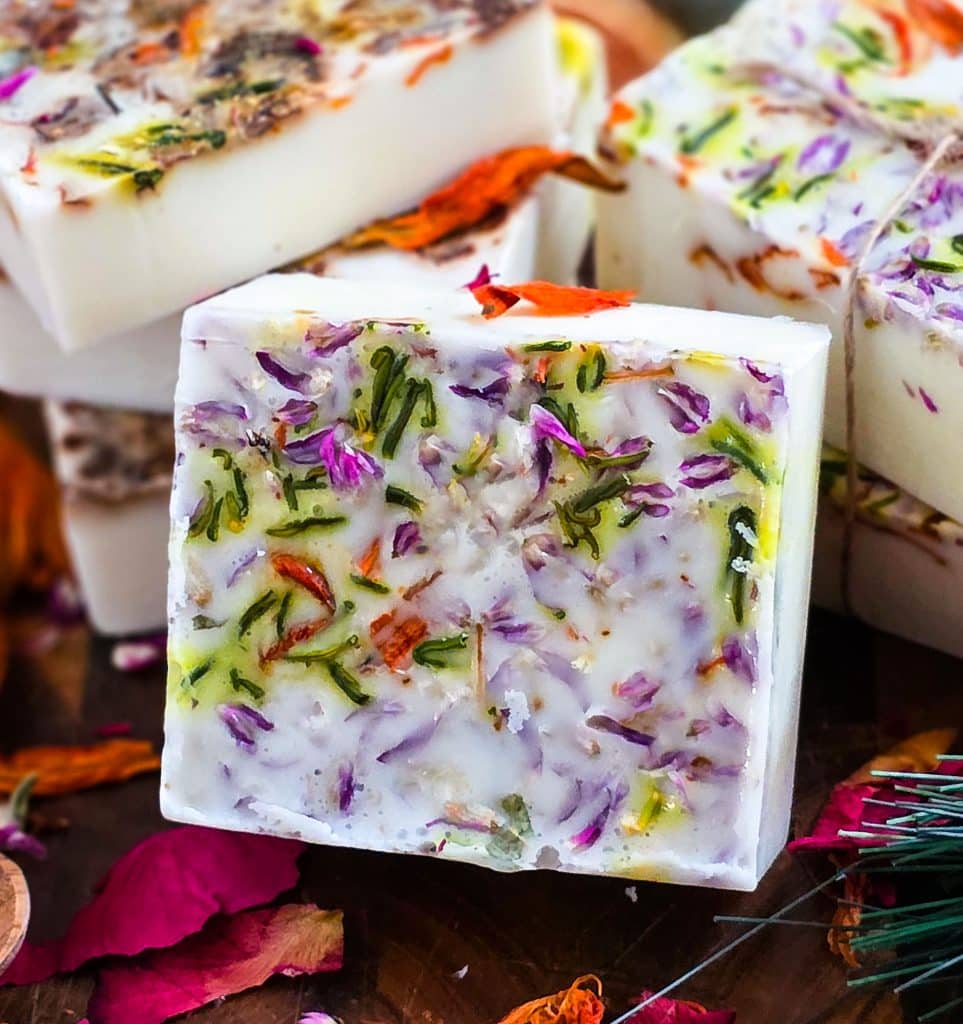
These handmade vegan soap bars are beautiful, customizable, and feel incredibly luxurious, like something you’d find in a high-end boutique. But the best part? They’re surprisingly simple to make, even if you’ve never made soap before!
Why DIY Vegan Soap Makes the Perfect Holiday Gift
Handmade soap is one of those gifts that always feels special. It’s practical, thoughtful, and something people actually use. These melt and pour vegan soap bars are especially great because they’re:
- Plant-based and gentle
- Easy to customize
- Budget-friendly
- Beautifully giftable
They’re perfect for teachers, neighbors, coworkers, host gifts, stocking stuffers, or anyone who loves natural, handmade items.
Why I Love Using a Melt and Pour Shea Butter Soap Base
For this recipe, I used a shea butter melt and pour soap base, which saved me a ton of time. Unlike traditional cold-process soap making, melt and pour soap doesn’t require lye or long curing times. You simply melt it, customize it, pour it, and let it set. Using the microwave makes the process even faster which is perfect for busy holiday schedules.
DIY Vegan Soap Ingredients (Basic Recipe)
Here’s the simple recipe that I used:
- 1 lb shea butter melt and pour soap base
- 1–2 tablespoons dried flowers and herbs
- 10–15 drops of your favorite essential oil (I used sweet orange essential oil)
- Silicone soap molds
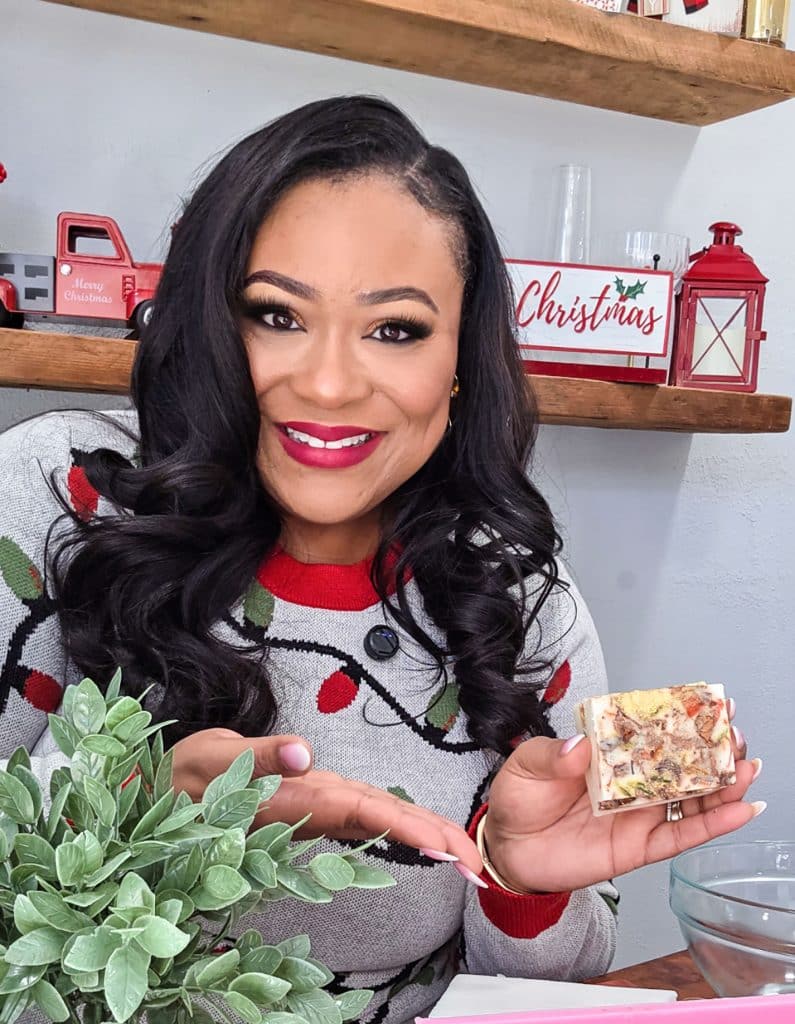
Materials I Used
To keep everything neat, polished, and gift-ready, I used the following supplies:
- Pack of Dried Herbs
- Moisturizing Melt and Pour Glycerin Soap Base
- Rectangular Soap Mold Kit with Cutter
- Sweet Orange Essential Oil
- Kraft Brown Soap Boxes
These materials are affordable, easy to find, and perfect for making multiple soap bars at once.
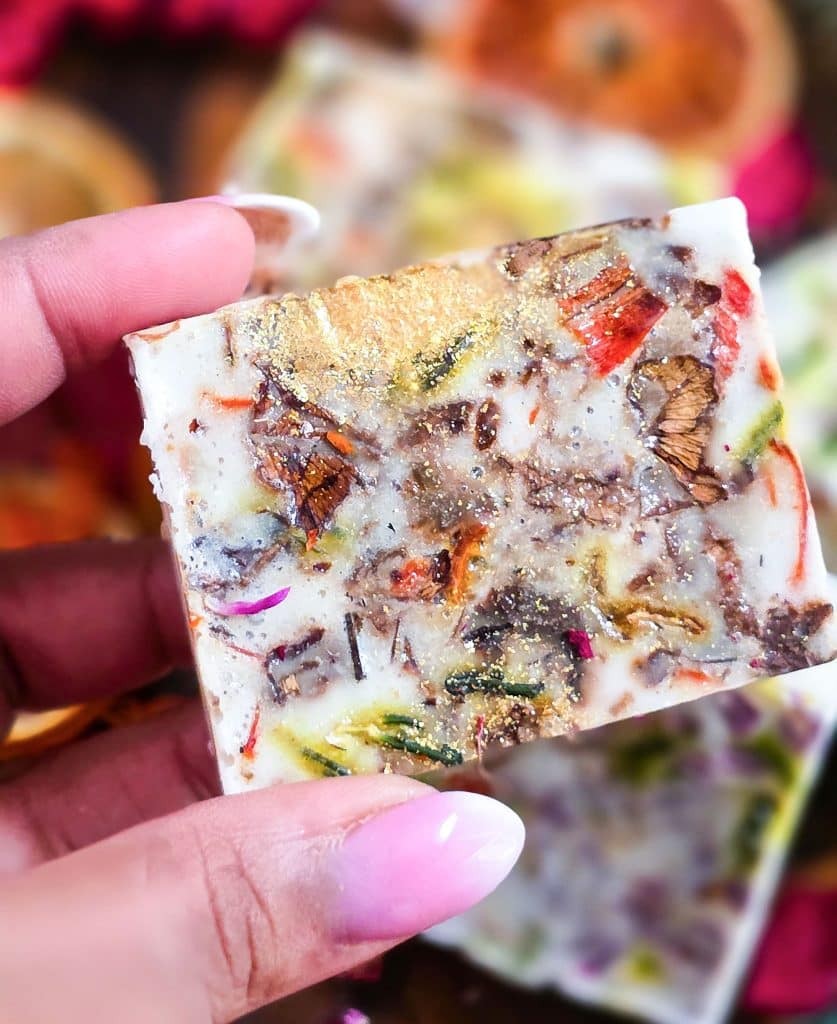
How to Make DIY Vegan Soap (Step-by-Step Instructions)
Step 1: Melt the Soap Base—Cut the shea butter soap base into small cubes and place them into a microwave-safe bowl (this is important!).Microwave in 30-second intervals, stirring well after each interval, until fully melted and smooth. Stirring between bursts prevents overheating and helps the soap melt evenly.
*Tip: Don’t rush this step—overheating can affect the texture of the soap.
Step 2: Add Essential Oils—Once the soap base is fully melted, work quickly. Add 10–15 drops of your favorite essential oil and gently stir to combine.
You can also create custom blends! Some favorite combinations to try:
- Orange + Lavender
- Orange + Calendula
- Lavender + Chamomile
- Eucalyptus + Peppermint
- Lemon + Rosemary
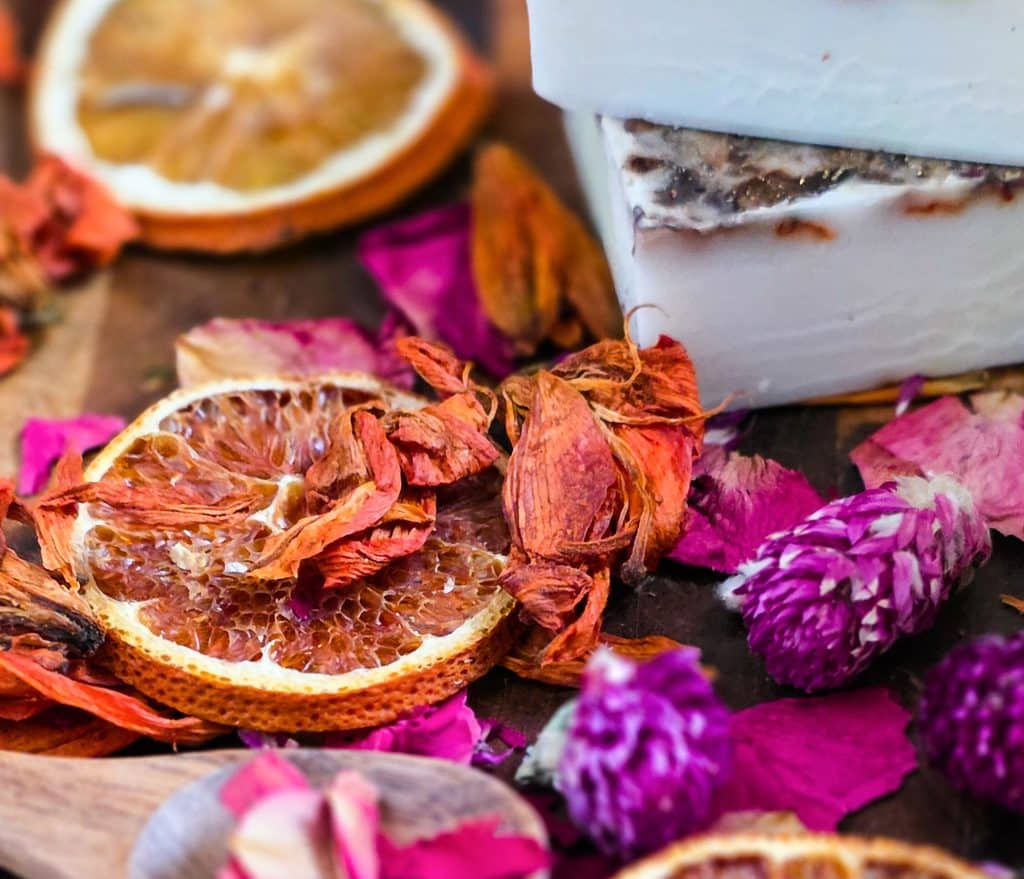
Step 3: Add Dried Flowers and Herbs—Gently fold in 1–2 tablespoons of dried flowers or herbs, distributing them evenly throughout the soap.
*Important note: I recommend using dried flowers and herbs, not fresh. Fresh botanicals contain moisture, which can cause mold or spoilage over time.
Step 4: Pour Into Molds—Carefully pour the soap mixture into your silicone soap molds. For a decorative touch, sprinkle a few dried flowers or herbs on top before the soap sets.Allow the soap to cool and harden completely at room temperature. This can take several hours or overnight, depending on mold size.
Step 5: Remove, Trim & Cure—Once the soap has hardened (typically after about 3 hours), gently remove it from the mold. Use a soap cutter or knife to trim edges if desired.Let the soap bars cure for a few days in a dry, well-ventilated area before using or packaging.
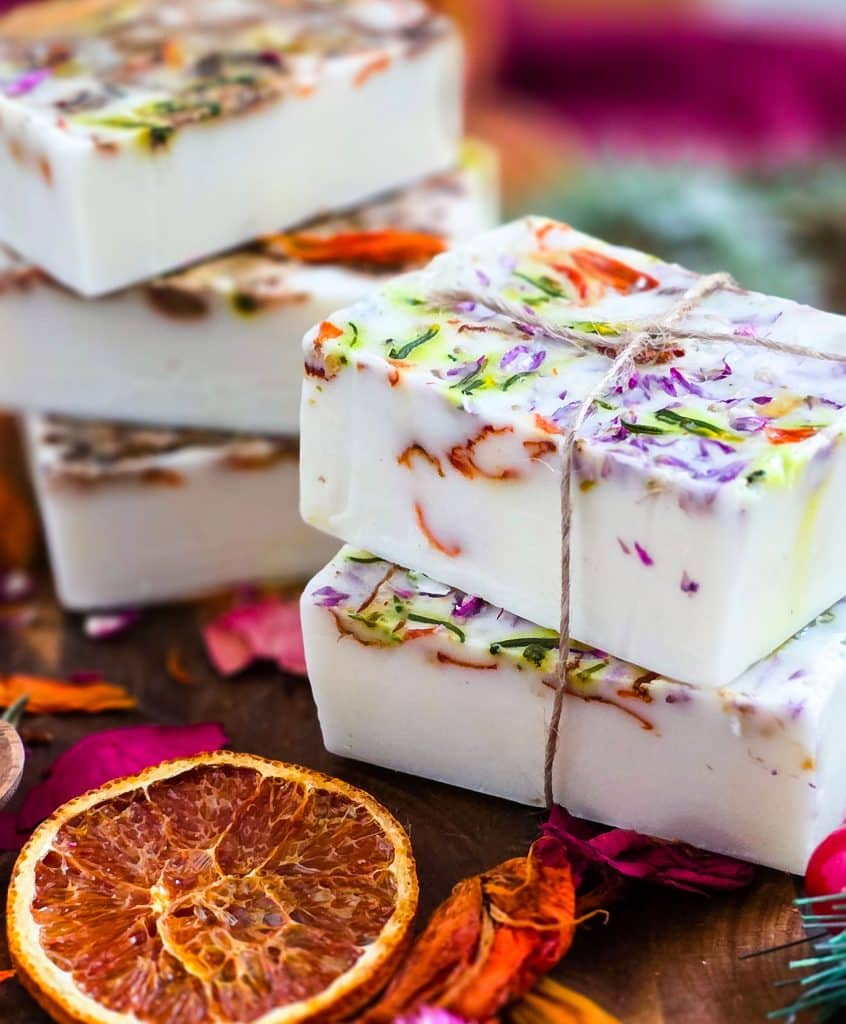
Packaging Your DIY Vegan Soap for Gifting
To give the soaps a boutique-style finish, I packaged them in these kraft brown soap boxes. You can also:
- Tie with twine or ribbon
- Add a handwritten tag
- Include the scent description
They truly look like something you’d find at a specialty shop.

Frequently Asked Questions About Handmade Vegan Soap
How long do handmade vegan soap bars last? When stored properly, handmade vegan soap bars can last 12 months or longer.
How long should I cure my handmade soap before using it? Melt and pour soaps don’t require long curing but allowing them to sit for a few days helps them fully harden and improves longevity.
What is the best way to store handmade soap bars? Store soap in a cool, dry place with good airflow.
Can I store my soap bars in airtight containers? Yes, but only once the soap is fully cured and dry. Trapping moisture too early can cause sweating.
If I don’t have airtight containers, can I wrap the soap bars instead? Absolutely! You can wrap them in wax paper, parchment paper, or kraft paper.
Should I avoid storing soap in bathrooms? Yes, if possible. Bathrooms are humid, which can shorten the life of handmade soap.
Be sure to check back every day this week for a new DIY gift idea, and don’t miss the step-by-step videos on YouTube, Instagram, Facebook, and TikTok.
Did you make this?
I’d love to know! Please let me know by leaving a review below. Or snap a photo and share it on Instagram; be sure to tag me @beautifuleatsandthings
