

Easy Caramelized Onion Jam
- November 17, 2026
- 0 Comments
If you love deeply caramelized onions, you are going to want to keep a jar of this Caramelized Onion Jam in the refrigerator at all times!
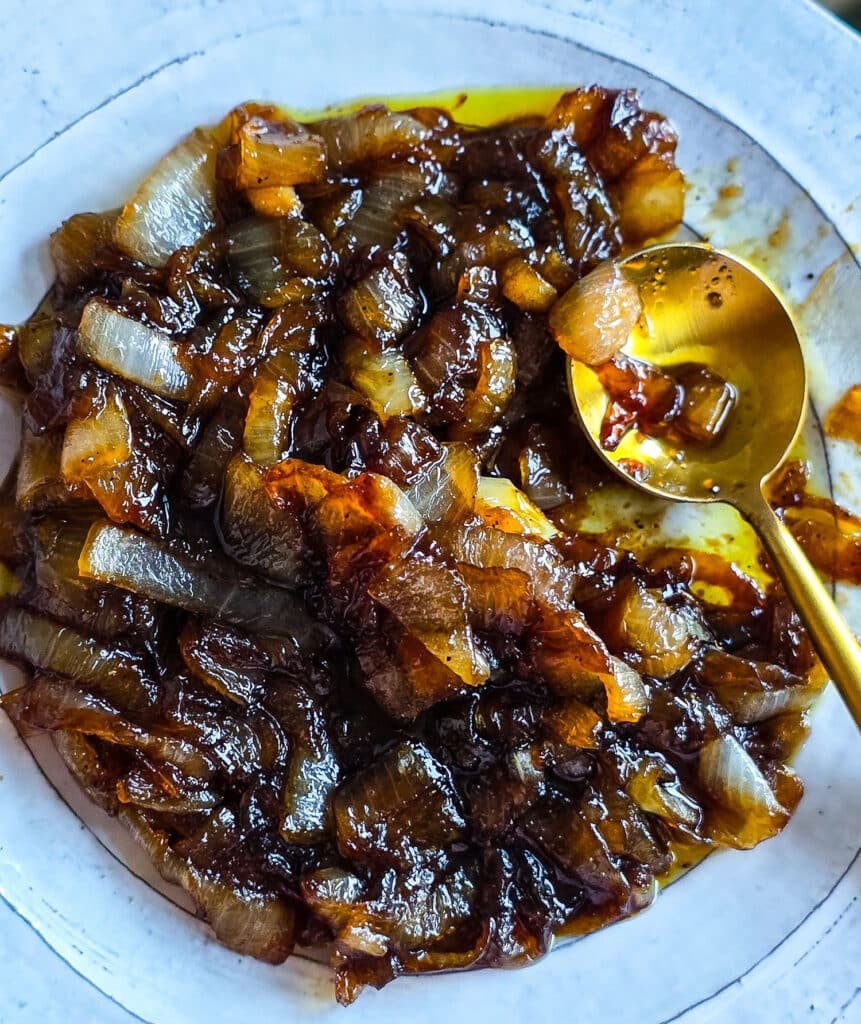
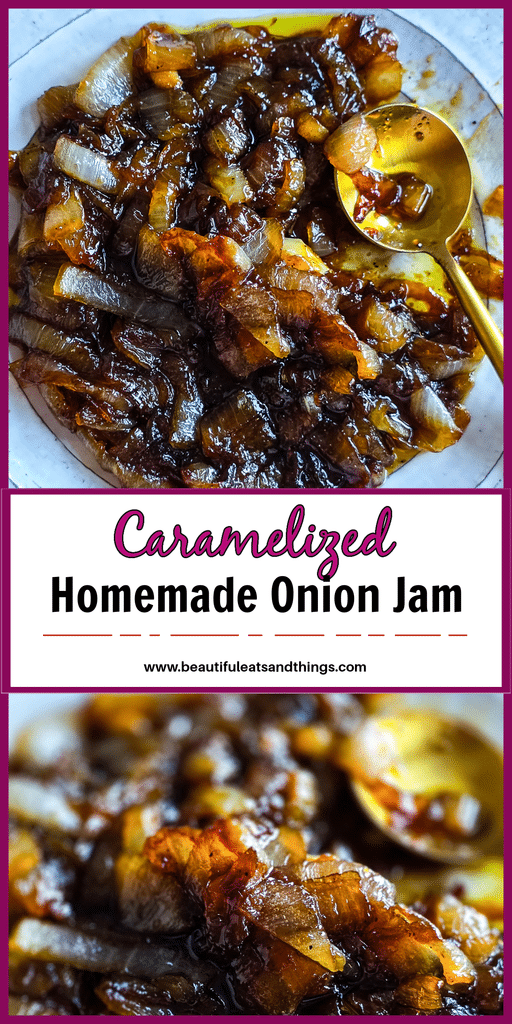
It’s sweet, savory, tangy and rich, with plenty of flavor from slowly cooked Vidalia onions, balsamic vinegar and just a touch of garlic. The onions cook down until they’re soft and jammy, creating a spread that tastes much more complicated than it actually is.
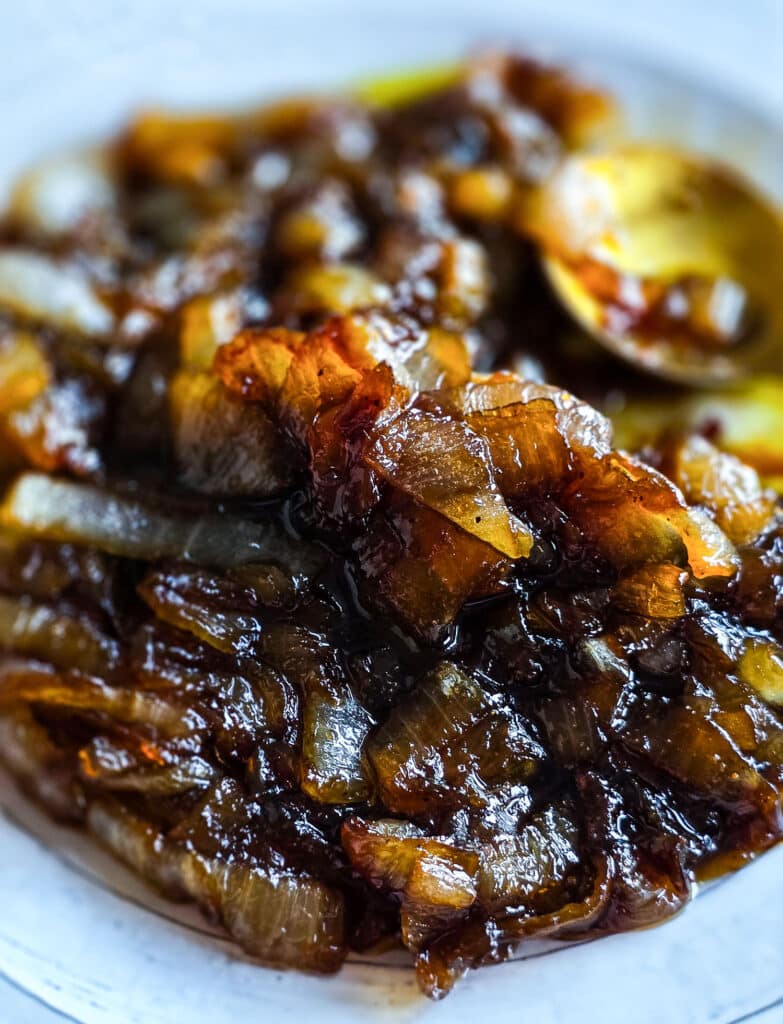
I originally made this onion jam for my Braised Short Rib Grilled Cheese, but it turned out so good that I immediately started thinking about all the other ways I could use it. Honestly, I’m even considering packing it into little jars and giving it away as a Christmas gift. It’s one of those simple homemade recipes that feels special enough to share.
What Does Onion Jam Taste Like?
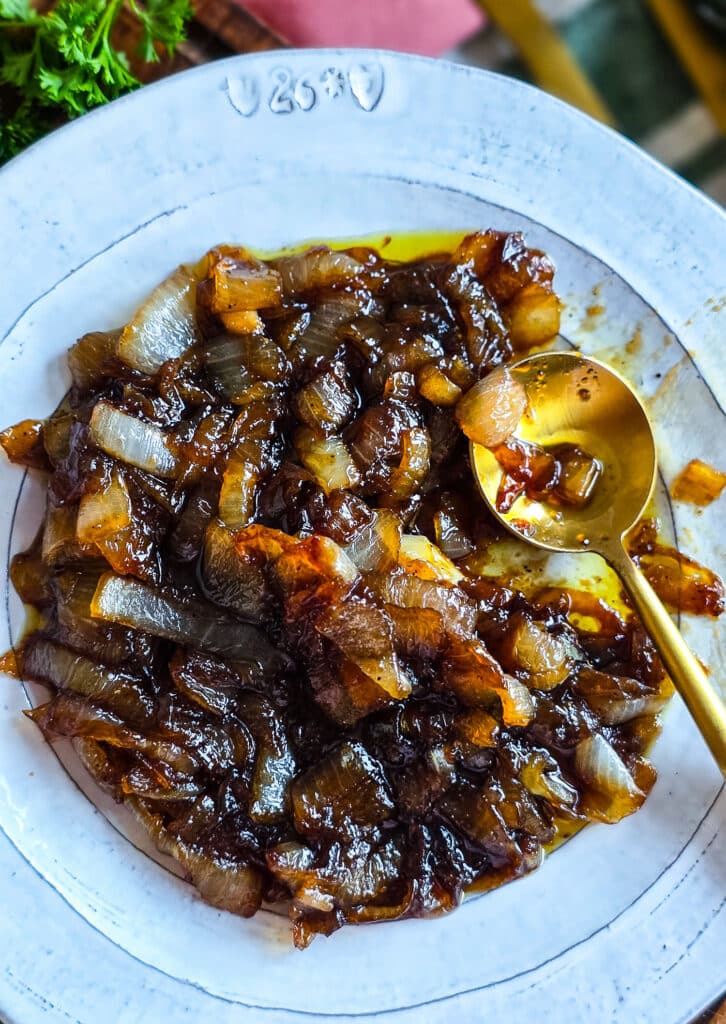
Caramelized onion jam has a rich, sweet-savory flavor with a little tang from the balsamic vinegar. The Vidalia onions become naturally sweeter as they cook, while the sugar helps create that thick, glossy, jam-like consistency. Balsamic vinegar adds acidity and depth so the finished jam doesn’t taste overly sweet.
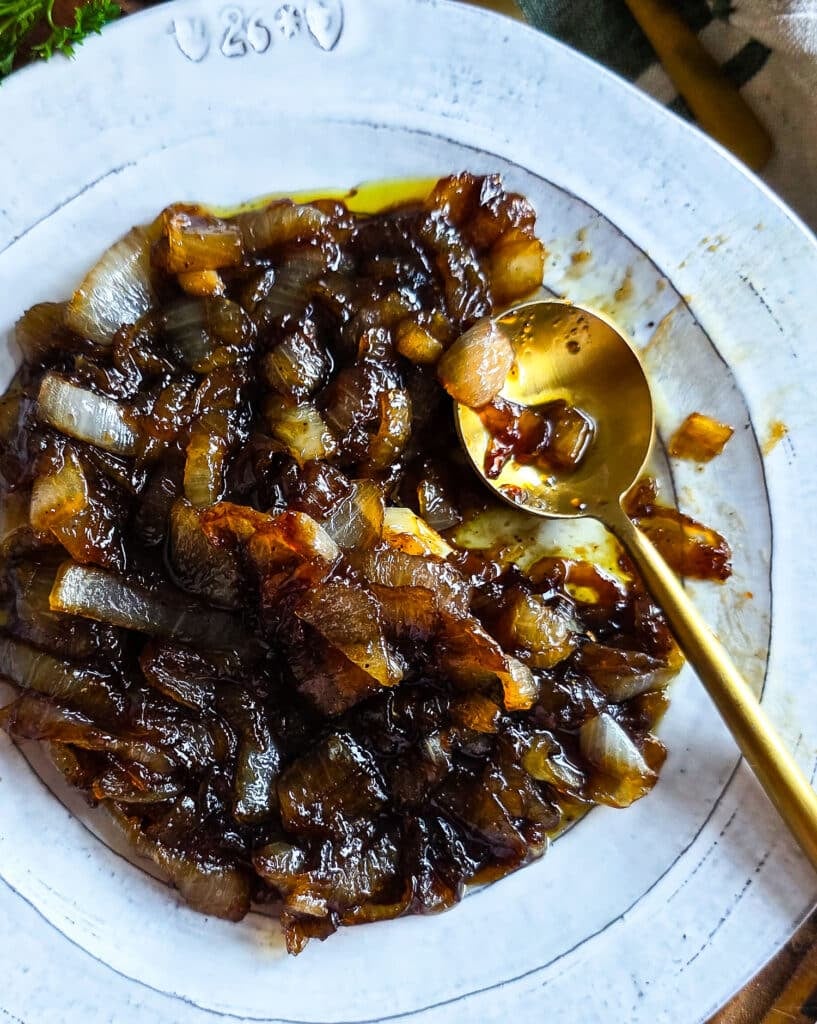
The result is a spread that works just as well with cheese and crackers as it does on a hearty sandwich.
How to Make Caramelized Onion Jam
1. Chop the onions
Peel and chop the Vidalia onions into small, even pieces. They don’t have to be perfectly uniform, but smaller pieces will give you a more spreadable finished texture.
2. Cook the onions slowly
Heat the olive oil in a large skillet over medium-low heat. Add the onions and cook for about 20 to 25 minutes, stirring occasionally, until they are very soft and golden. If the onions start browning too quickly, reduce the heat. You want them to slowly soften and caramelize rather than burn.
3. Add the sugar and seasonings
Once the onions are soft and golden, stir in the sugar, balsamic vinegar, garlic powder, salt and black pepper.
4. Cook until thick and jammy
Continue cooking over medium-low heat for another 10 to 15 minutes, stirring frequently. As the mixture cooks, the liquid will reduce and the onions will become glossy, sticky and jam-like.
5. Cool
Remove the skillet from the heat and allow the onion jam to cool. It will thicken a little more as it cools.
How Do You Know When Onion Jam Is Done?
The finished jam should look thick, glossy, and spreadable. Most of the liquid should be reduced, but the onions should still look moist rather than dry.
One easy test is to drag a spatula across the bottom of the pan. If the mixture slowly moves back into place instead of immediately flooding the space, it’s ready.
Tips for the Best Onion Jam
Keep the Heat Low
Caramelized onions need time. Cooking over high heat may brown the outside quickly, but it won’t give you the same soft texture and deep flavor.
Stir More Often Toward the End
Once the sugar and balsamic vinegar are added, the mixture can reduce quickly. Stir more frequently during the last few minutes to prevent sticking.
Don’t Cook It Too Dry
The jam should remain soft and spreadable. Remember that it will continue to thicken as it cools.
Taste Before Adding More Salt
Balsamic vinegar and the foods you pair the jam with may already bring plenty of flavor, so start with a small amount of salt and adjust as needed.
What to Serve With Caramelized Onion Jam
This is one of those recipes that can go in a lot of different directions.
Try it with:
- Grilled cheese
- Roast beef sandwiches
- Burgers
- Turkey sandwiches
- Crostini
- Crackers
- Brie or goat cheese
- Charcuterie boards
- Roasted chicken
- Steak
- Pork
- Breakfast sandwiches
- Flatbreads or pizza
It’s especially delicious paired with sharp or creamy cheeses because the sweet, tangy onions balance the richness.
Can You Make Onion Jam Ahead of Time?
Yes. This is actually a great make-ahead recipe because the flavor gets even better after it has had a little time to sit. Make the jam a day or two before you plan to use it and store it in an airtight container in the refrigerator.
How to Store Caramelized Onion Jam
Allow the jam to cool completely before transferring it to a clean airtight container or jar. Store it in the refrigerator for up to 1 week. Always use a clean utensil when removing jam from the container.
Can You Give Onion Jam as a Gift?
Absolutely. This onion jam would make a really cute homemade holiday gift. Spoon the cooled jam into small decorative jars, add a ribbon and include a note suggesting ways to serve it, such as with cheese boards, sandwiches or crostini.
Because this recipe is intended for refrigerator storage rather than shelf-stable canning, make sure the recipient knows to keep it refrigerated and use it within about a week.

Easy Caramelized Onion Jam
Ingredients
- 2 large Vidalia onions chopped
- 1 tablespoon extra-virgin olive oil
- ⅓ cup granulated sugar
- ¼ cup balsamic vinegar
- ¼ teaspoon garlic powder
- ¼ teaspoon salt or to taste
- ⅛ teaspoon freshly ground black pepper or to taste
Instructions
- Heat the olive oil in a large skillet over medium-low heat.
- Add the chopped onions and stir to coat them in the oil.
- Cook for 20 to 25 minutes, stirring occasionally, until the onions are very soft and golden brown.
- Reduce the heat if the onions begin browning too quickly.
- Stir in the sugar, balsamic vinegar, garlic powder, salt and black pepper.
- Continue cooking over medium-low heat for another 10 to 15 minutes, stirring frequently, until the liquid has mostly reduced and the mixture is thick, glossy and jam-like.
- Remove from the heat and let cool slightly.
- Transfer to an airtight container or jar and refrigerate until ready to use.
Notes
Vidalia onions work especially well because of their naturally sweet flavor.
If you prefer a less sweet onion jam, you can slightly reduce the sugar, but keep in mind that the texture may be a little looser.
The jam will thicken as it cools.
For gifting, keep the jam refrigerated and clearly label it as a refrigerated product rather than a shelf-stable preserve.
Did you make this?
I’d love to know! Please let me know by leaving a review below. Or snap a photo and share it on Instagram; be sure to tag me @beautifuleatsandthings
