

How to Make Your Own Earrings
- December 16, 2025
- 0 Comments
These DIY earrings are proof that the most meaningful gifts don’t come from a store, they come from the heart!

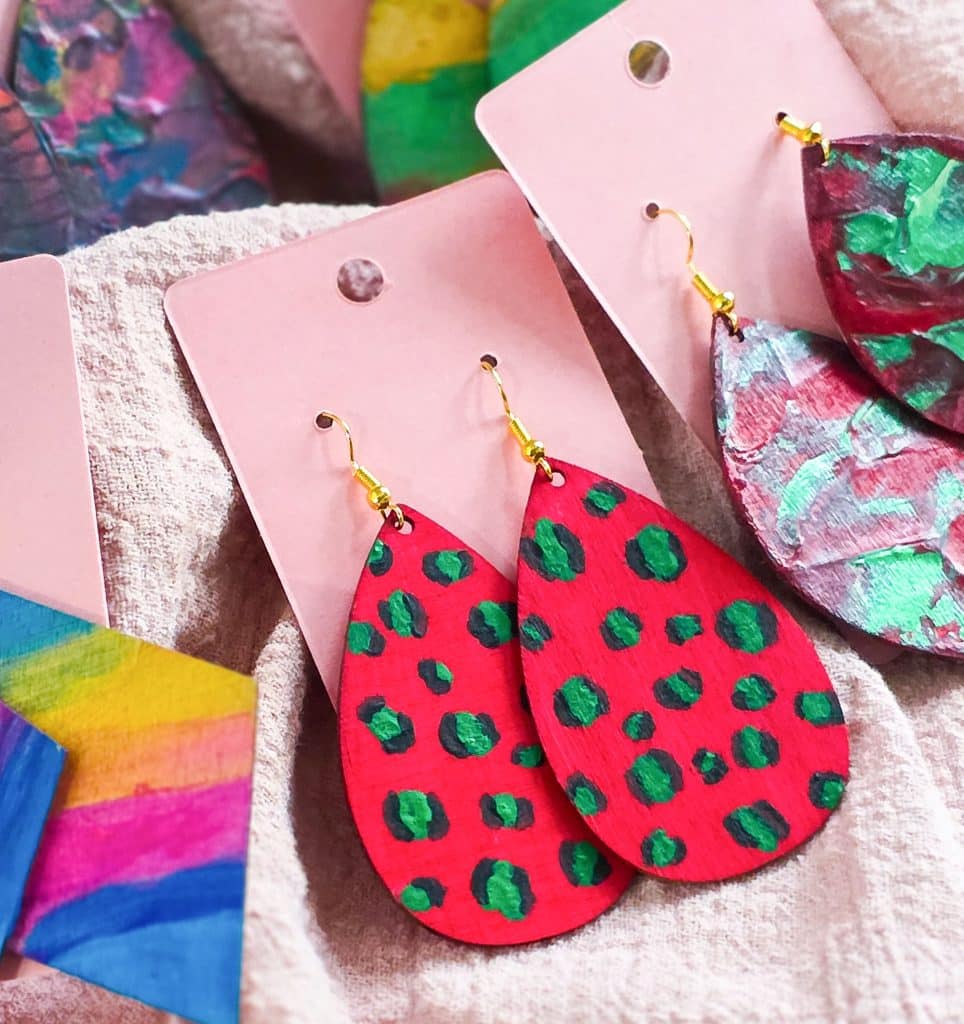
I’m back with another DIY gift idea and it’s probably one of my absolute favorite projects in this series, and one that always gets the biggest reaction…DIY handmade earrings! They’re creative, fun to make, completely customizable, and they look like something you’d find in a high-end boutique. Truly one of those gifts people say, “Wait… you MADE these?!”
Why DIY Earrings Make the Perfect Handmade Christmas Gift
Handmade jewelry is such a special gift because no two pairs are exactly alike. These DIY wooden earrings are lightweight, stylish, and completely customizable to fit anyone’s personality or style. Whether you’re gifting them to friends, family, teachers, coworkers, or neighbors, they feel personal and thoughtful.
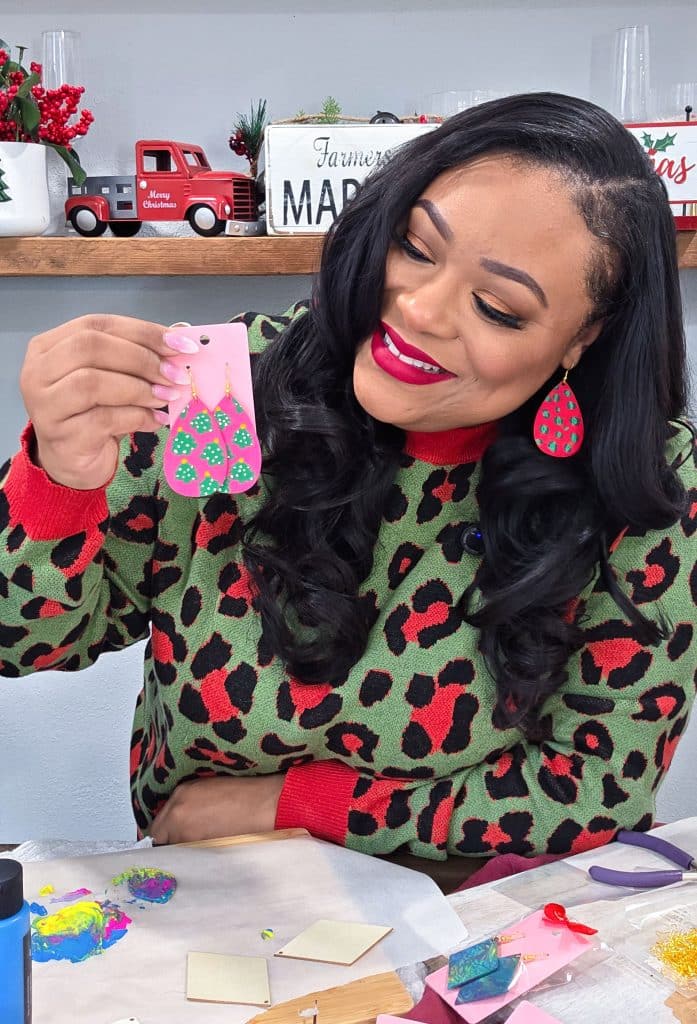
And the best part? They’re incredibly budget-friendly, especially when making multiple pairs at once. With a few affordable supplies, you can create several unique designs that look like high-priced boutique earrings.
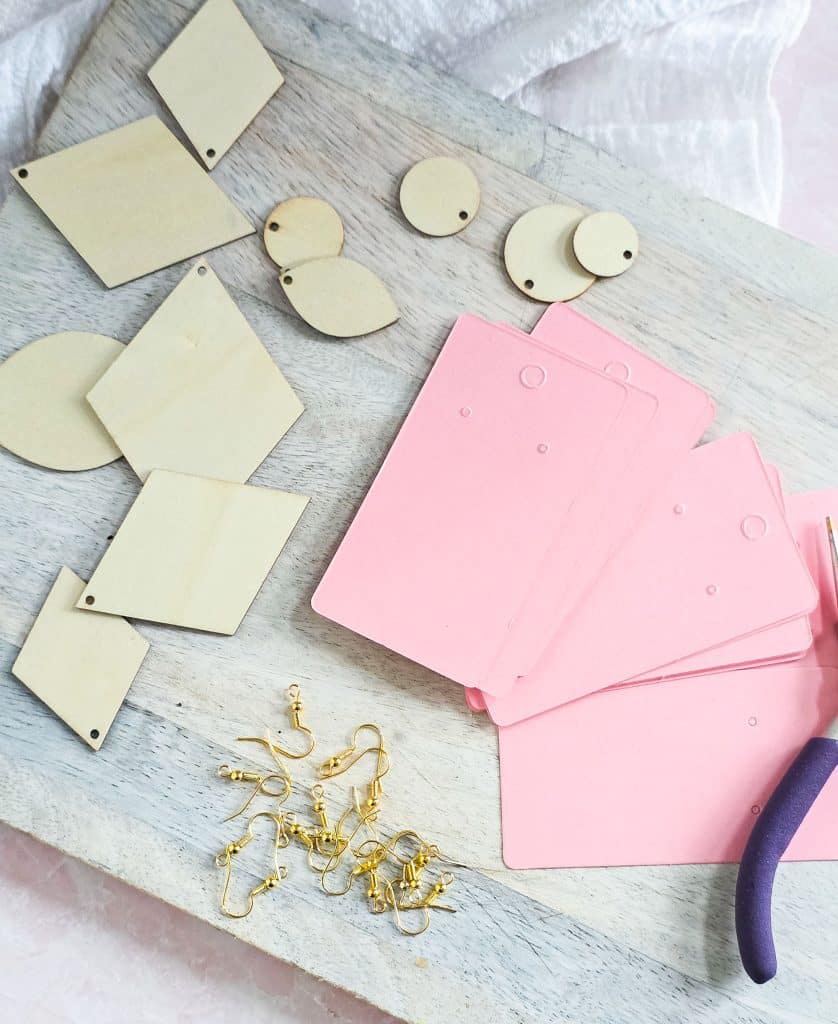
DIY Earrings Supplies (Everything I Used)
I purchased all of my supplies online to make this project super simple and accessible. Here’s exactly what I used:
- Pink Earring Display Cards
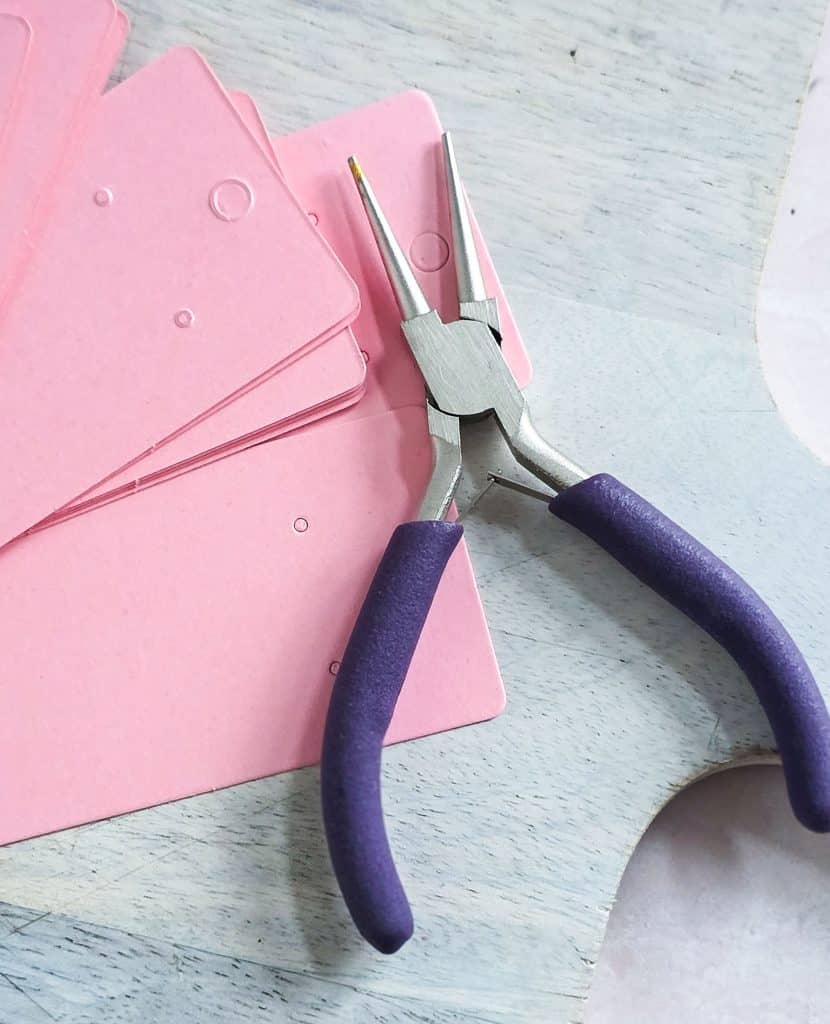
- Needle Nose Pliers
- Unfinished Wooden Earrings Blanks
- Acrylic Paint Brush Set
- Gold Earring Hooks
- 80 Colors Acrylic Paint Set
How to Make DIY Earrings: Step-by-Step Instructions
Step 1: Prepare Your Work Surface
Before painting, I prepped my surface by laying parchment paper on top of a cutting board. This protects your table and makes cleanup super easy. It also gives you a smooth surface for painting and drying.
Step 2: Choose Your Paint Colors
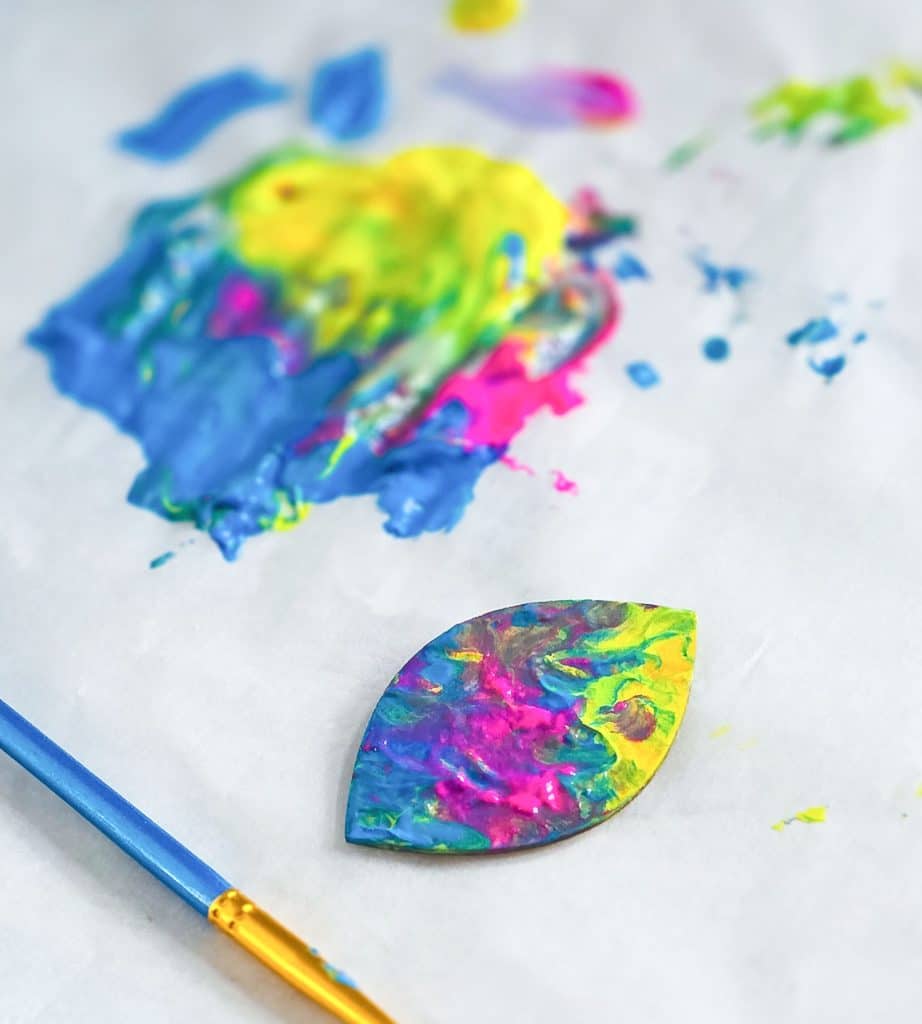
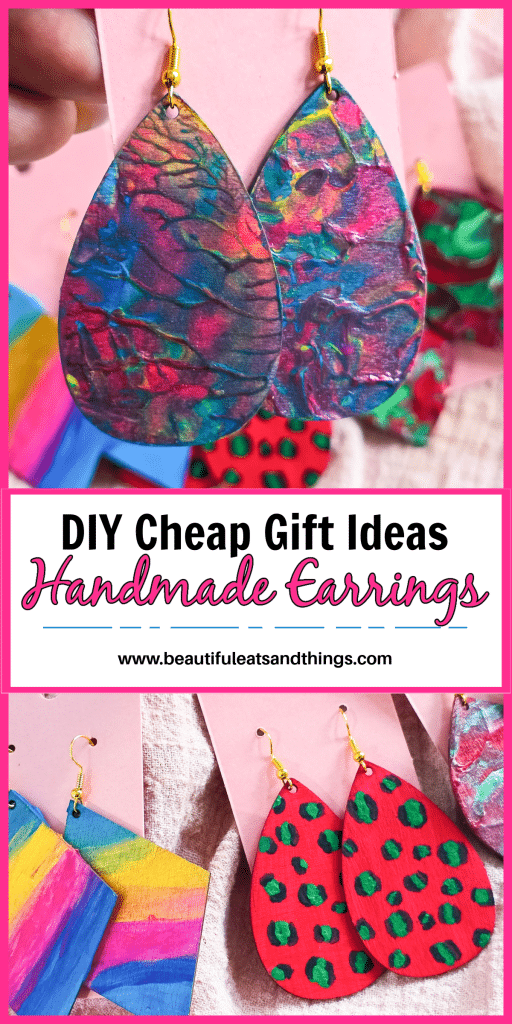
Using my acrylic paint set, I picked out a few festive colors. One of my favorite techniques is a tie-dye effect, where I swirl together 2–3 colors of acrylic paint.
To create this look:
- Choose your favorite colors, and add a small amount of paint onto the parchment paper
- Lightly swirl the colors together (don’t overmix!)
- Dip the wooden earring blank directly into the paint
- Gently lift and let dry
The result is a beautiful, abstract, marbled look that’s always unique.
Step 3: Create Simple or Detailed Designs
In addition to the tie-dye style, I love creating simple painted patterns, such as:
- Soft brush strokes using different colors
- Color blocking
- Minimal dots or lines
And if you’re feeling creative (or adventurous!), you can paint custom designs directly onto the earrings, just like I did here:
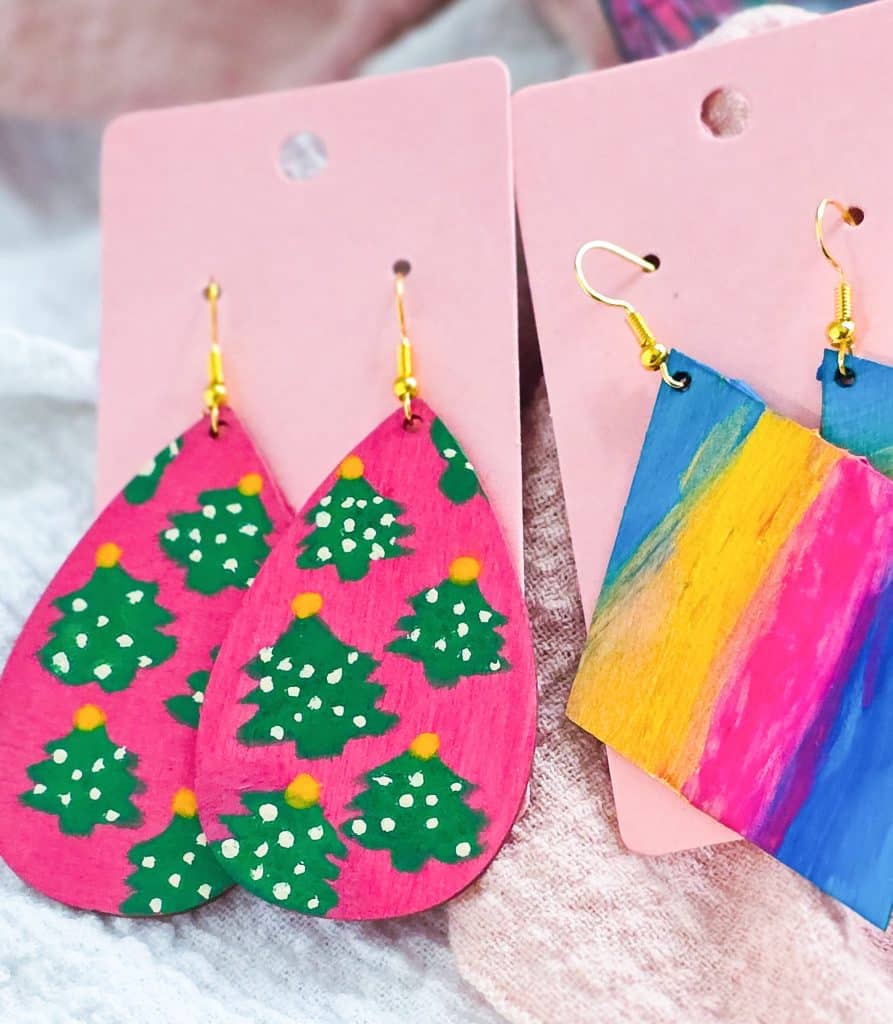
Don’t worry about perfection because that handmade look is what makes them special!
Step 4: Let the Earrings Dry Completely
Allow your painted earrings to dry fully before assembling. Acrylic paint dries fairly quickly, but giving them enough time ensures the designs won’t smudge.
Step 5: Attach the Earring Hooks
Once dry, I used needle nose pliers to gently open the loop on the earring hooks and attach them to the wooden blanks. This step is simple and makes the earrings feel polished and professional.
Step 6: Display & Package for a Boutique-Style Finish
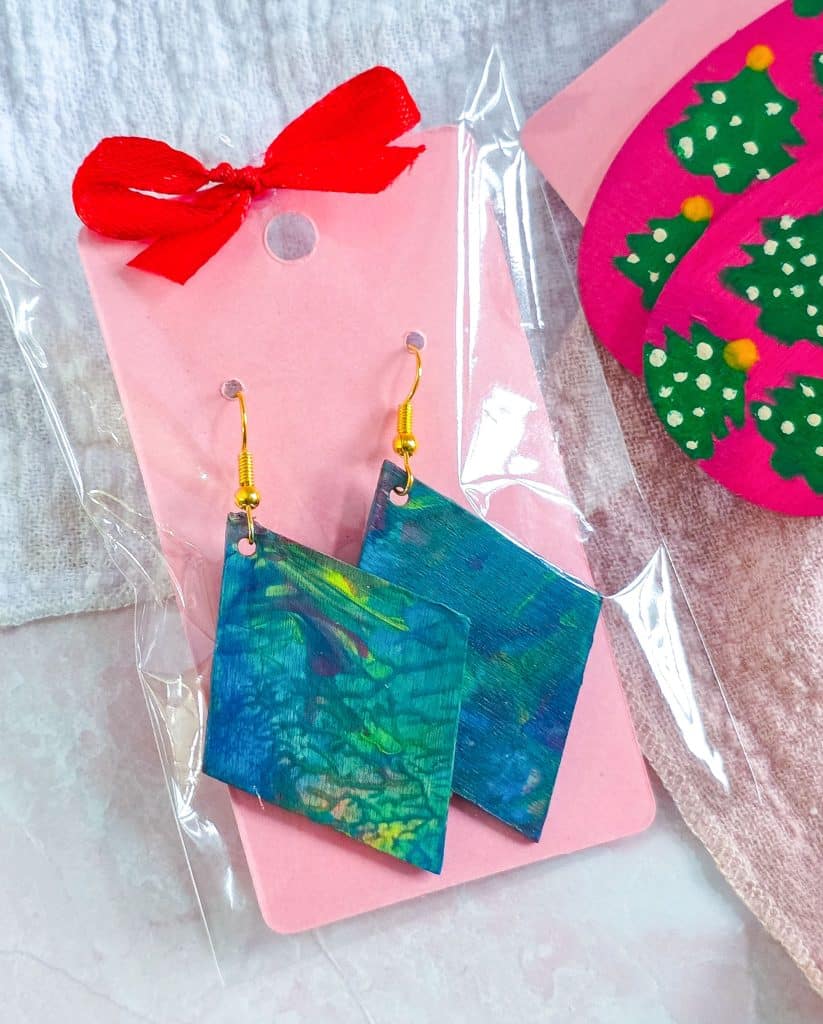
For presentation, I displayed the earrings on pink earring cards, which came with individual plastic bags. I finished each set with a festive bow, and instantly, the earrings looked like something straight out of a boutique!
Extra Tips for Designing DIY Earrings
Want to take your designs up a notch? Try these ideas:
- Use stencils for clean shapes or patterns
- Layer paint colors for depth
- Add metallic paint for a luxe look
- Seal with a clear acrylic spray for durability
- Match colors to the recipient’s style

These small touches make your handmade earrings feel even more elevated.
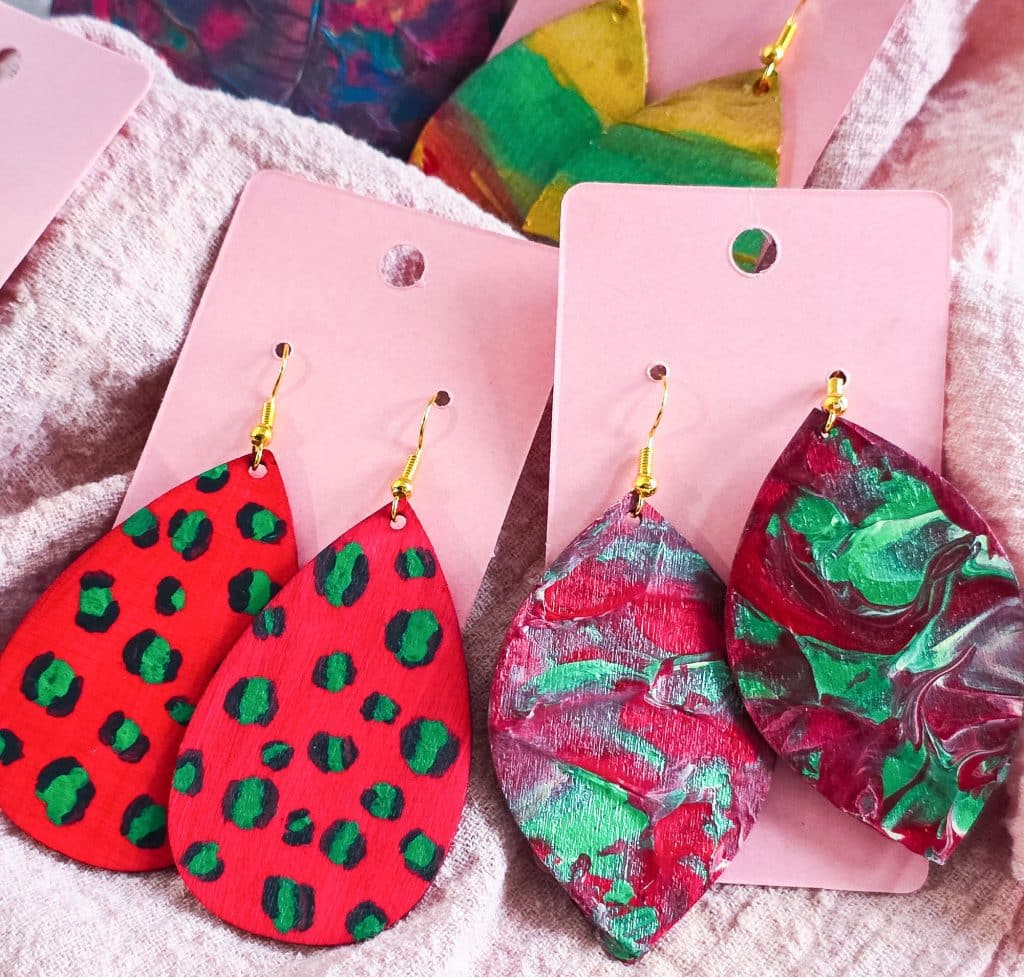
These earrings aren’t just accessories, they’re one-of-a-kind gifts made by you. They reflect time, creativity, and intention. And because no two pairs are the same, they feel incredibly personal. And honestly? Someone could easily mistake these for expensive boutique earrings because they’re so cute!
Be sure to check back every day this week for a new DIY gift idea, and don’t miss the step-by-step videos on YouTube, Instagram, Facebook, and TikTok.
Did you make this?
I’d love to know! Please let me know by leaving a review below. Or snap a photo and share it on Instagram; be sure to tag me @beautifuleatsandthings
